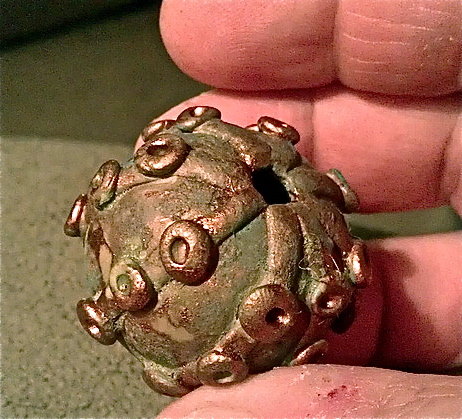
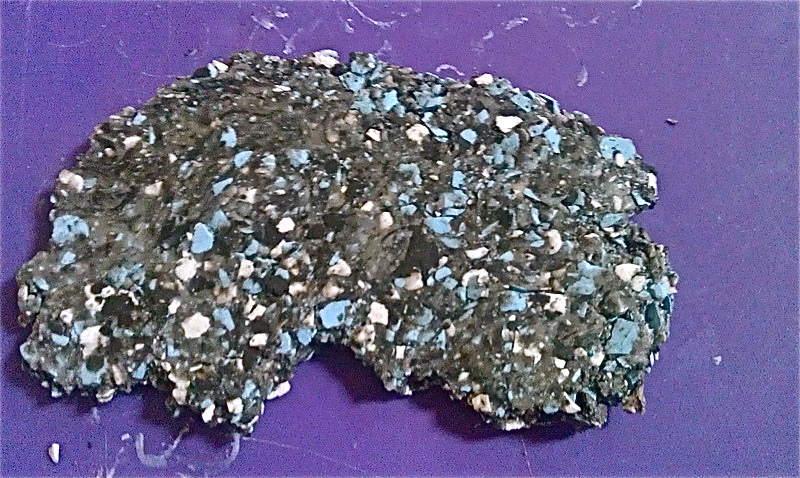
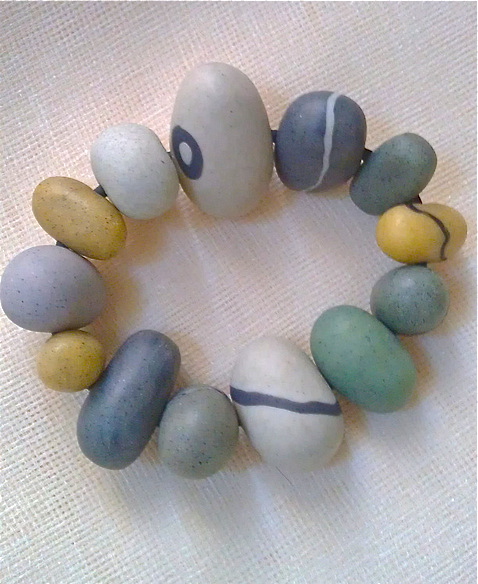
I have been lax posting lately, partly due to family obligations and partly that I have been having fun experimenting with new stuff. Thanks to Kathi at Dragonsglass I obtained some dissolvable beads to use as a form for larger beads. I like the idea of hollow beads cutting the weight significantly, on large beaded necklaces it can be quite heavy. At the same time I purchased some Swellegant from B'Sue's and was eager to try that out. The first couple beads were a disaster and I threw them out - so bad I didn't even want a pic! Then it seemed like everything clicked, and as Hannibal Smith (A-Team) says "I love it when a plan comes together!".
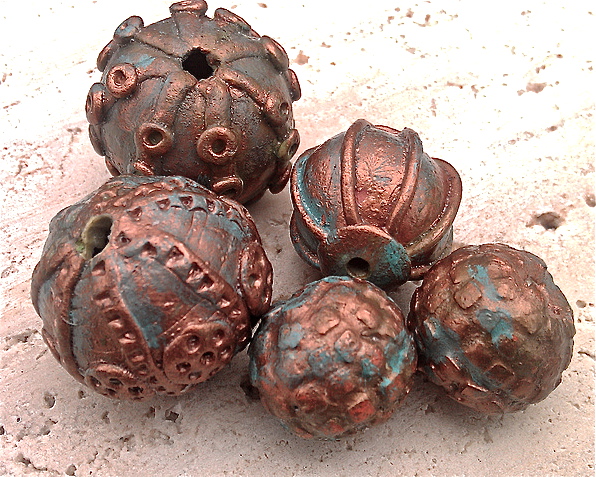
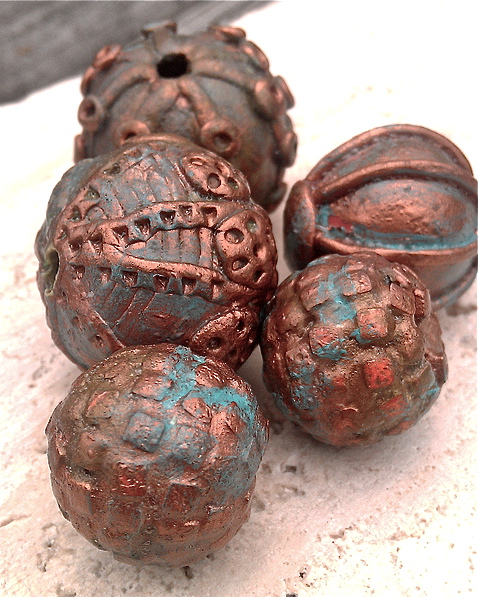
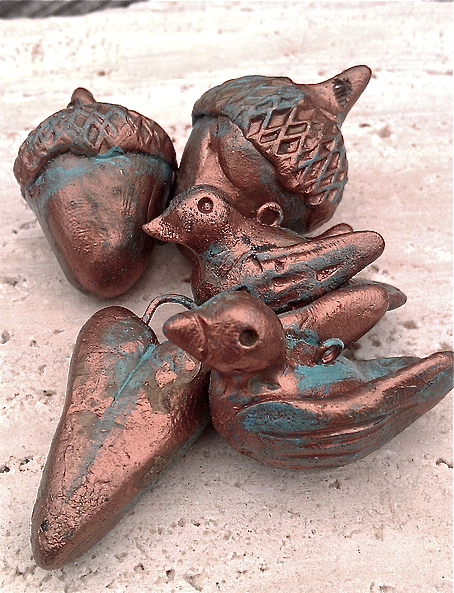
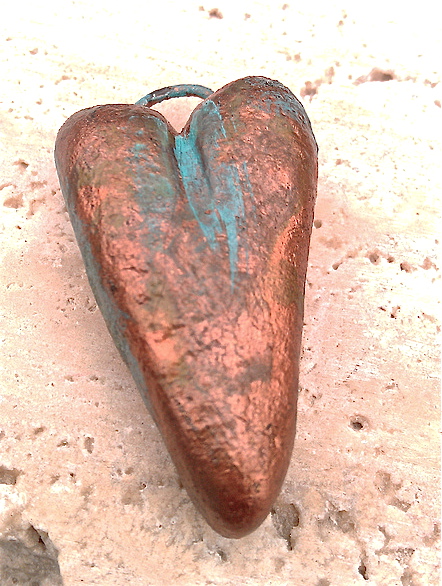
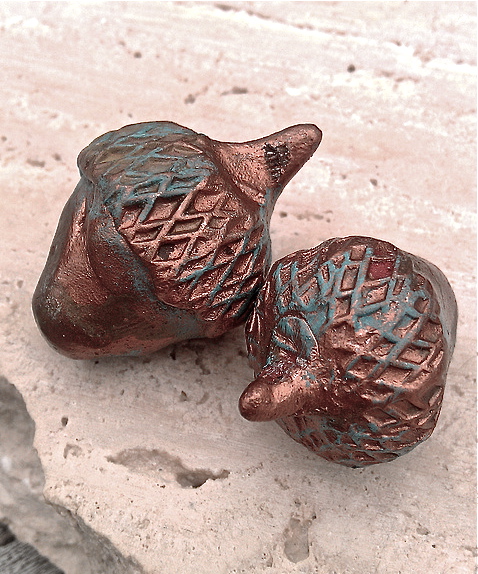
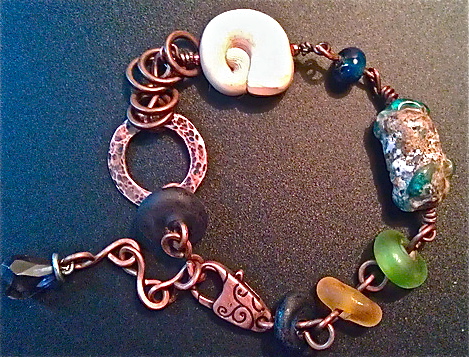
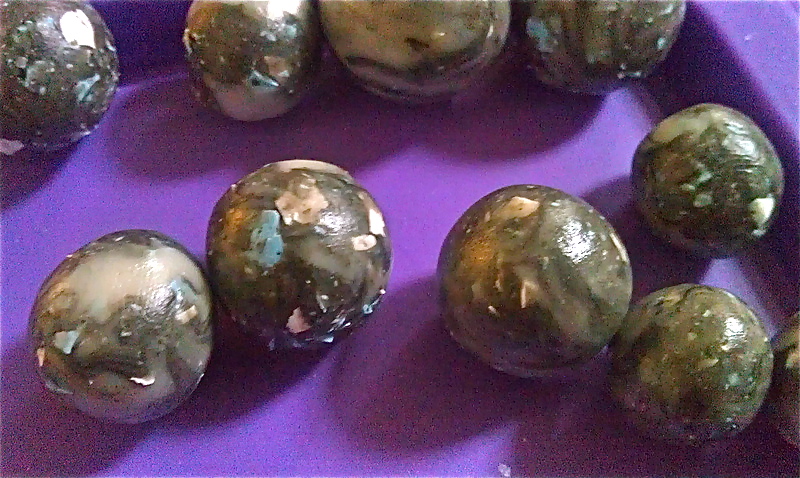
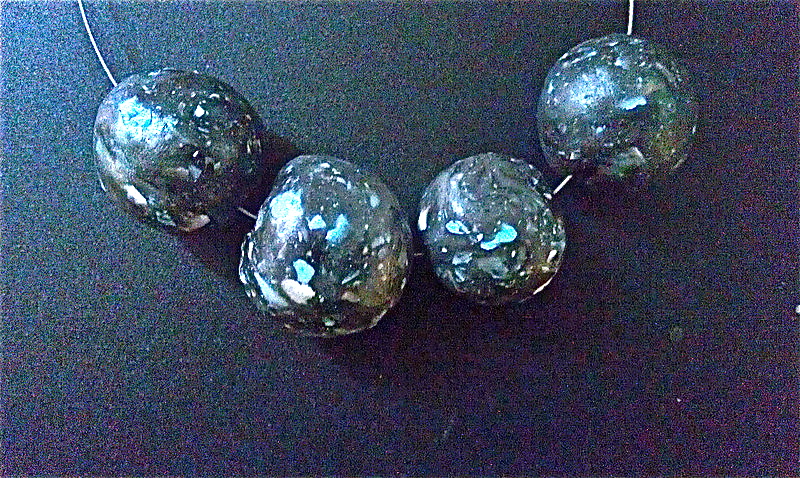
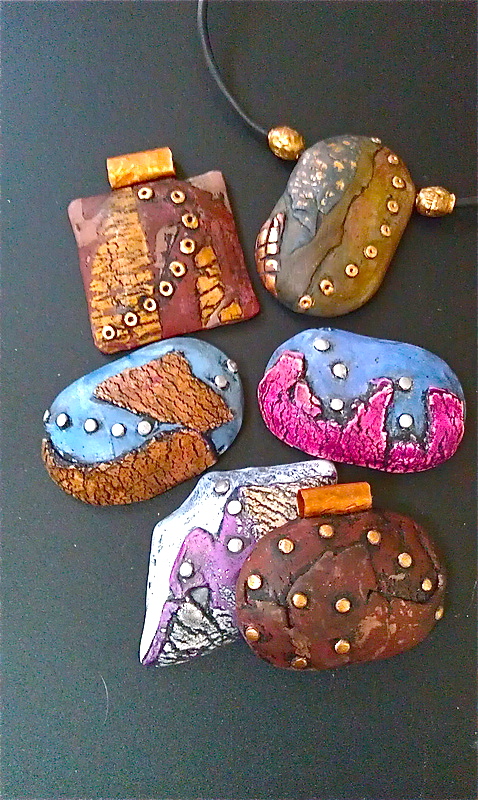
The first picture was taken indoors and really looks more bronze than copper. The base I use is the copper Swellegant. The next day I had good weather and more beads finished and I took the pictures outside. The color is a more accurate representation than the first picture. The two larger sizes are hollow beads but then I went crazy and started coppering everything. The two small beads with squares are mosaic beads that i really didn't love, but now they have a whole different look. Then I coppered a couple birds from my TAD challenge, along with clay acorns and small heart that had been hiding in the mess on my worktable. I have always wanted to work with copper clay but PMC is just too expensive for me. I think this gives a very close facsimile of that metal clay without the cost. Ah, I have found a new obsession...
The first picture was taken indoors and really looks more bronze than copper. The base I use is the copper Swellegant. The next day I had good weather and more beads finished and I took the pictures outside. The color is a more accurate representation than the first picture. The two larger sizes are hollow beads but then I went crazy and started coppering everything. The two small beads with squares are mosaic beads that i really didn't love, but now they have a whole different look. Then I coppered a couple birds from my TAD challenge, along with clay acorns and small heart that had been hiding in the mess on my worktable. I have always wanted to work with copper clay but PMC is just too expensive for me. I think this gives a very close facsimile of that metal clay without the cost. Ah, I have found a new obsession...
 RSS Feed
