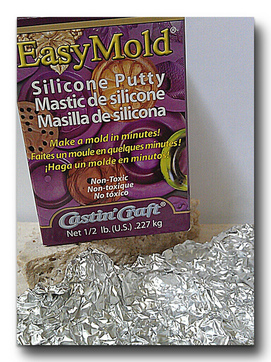
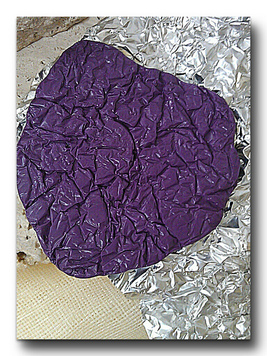
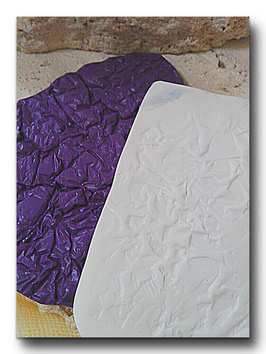
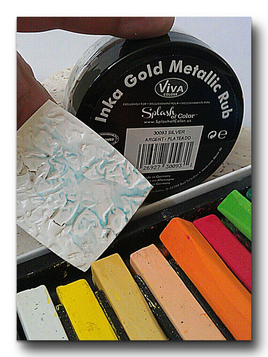
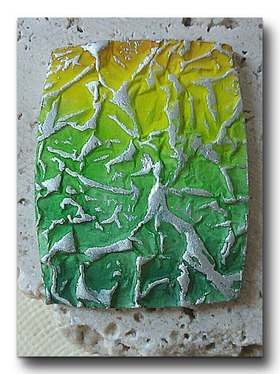
| Here is the brand I got at Michaels. I have used this for most of my molding and find it works very well. It can be used for food also, so if I ever get a wild hair to make fancy toffee or truffles I'm set! Since it is hotter than blue blazes outside I am in the cool a.c. and the molding material didn't want to set as quick, so I threw (literally! too hot to walk out again) it out on the hot deck while I conditioned some more clay. After a couple minutes this is what I got. A pretty good texture sheet1 Here is what the clay looked like after pressing the mold into it. Some areas are more deeply textured than others. I colored it with pastels and Inka Gold (Silver). I am horrid at making a decent Skinner Blend, so I thought I would fake it with the chalks! Then I hit the high spots with the Inka gold in silver. And here is my finished piece, well almost-I have to 'silver' the back and sides, but I figured I better do something constructive (besides write this post). So I am off to see if I can get something (anything) cleaned yet today! |
|
So I started today with good intentions, really I did! I meant to start some serious cleaning because my house is starting to look like an episode of the "Hoarders: Buried Alive!" Unlike a true hoarder I can throw things away when I need to....at least that's what I thought until today! There it was - an innocent piece of aluminum foil, a clean piece that was left from wrapping...something. It was clean what was I supposed to do? Then I noticed it was sitting next to some clay that I had just conditioned...hmmnnn. Well it turns out that it didn't work too well as a texture plate so I was forced (yes, forced) to go to Michaels and get molding material. I thought I had some but after an hour's search I decided to cut my losses. I needed to get jump rings anyway. So I came home with the molding material and this is what I did.
0 Comments
Happy Fourth of July to everyone! I hope the rain doesn't dampen the fireworks tonight. Here are my latest listings on etsy, Thanks for looking!
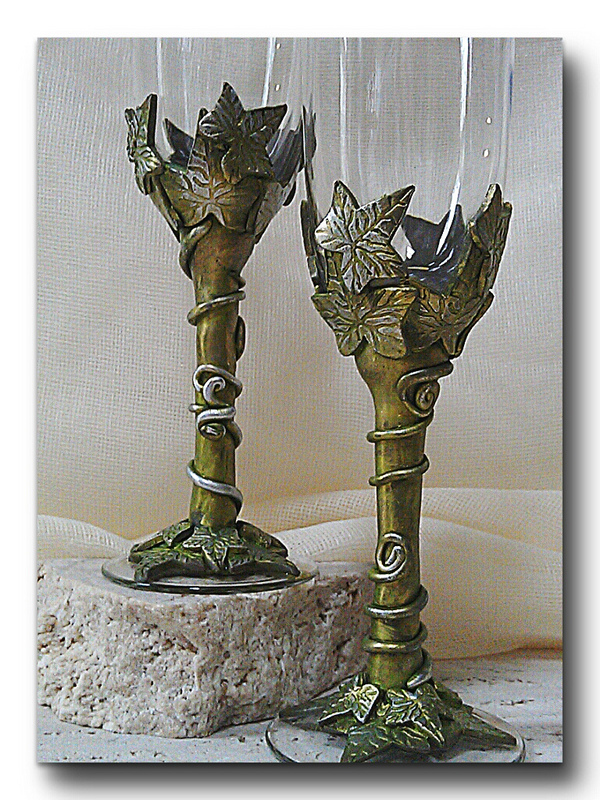
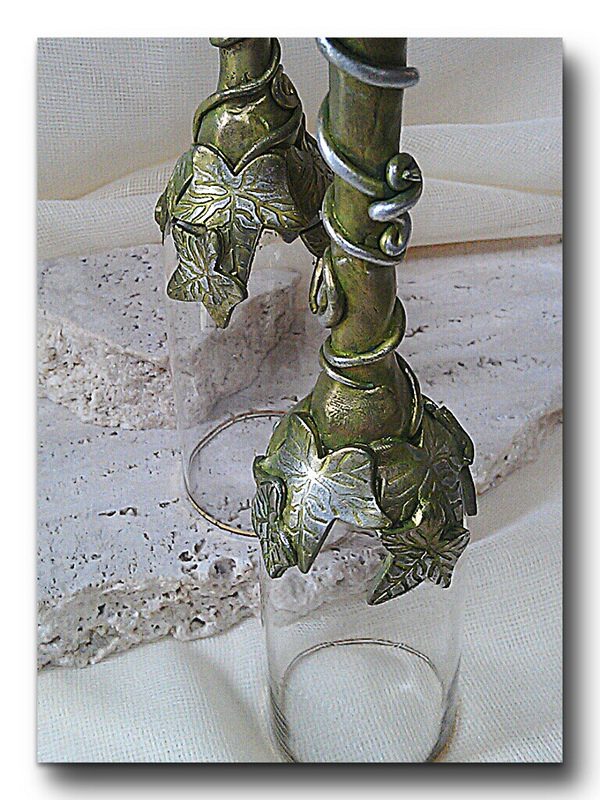
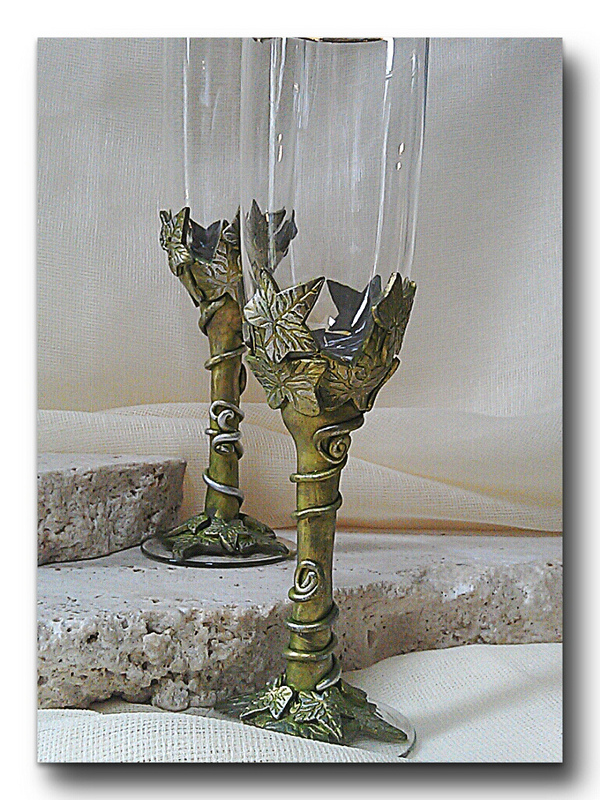
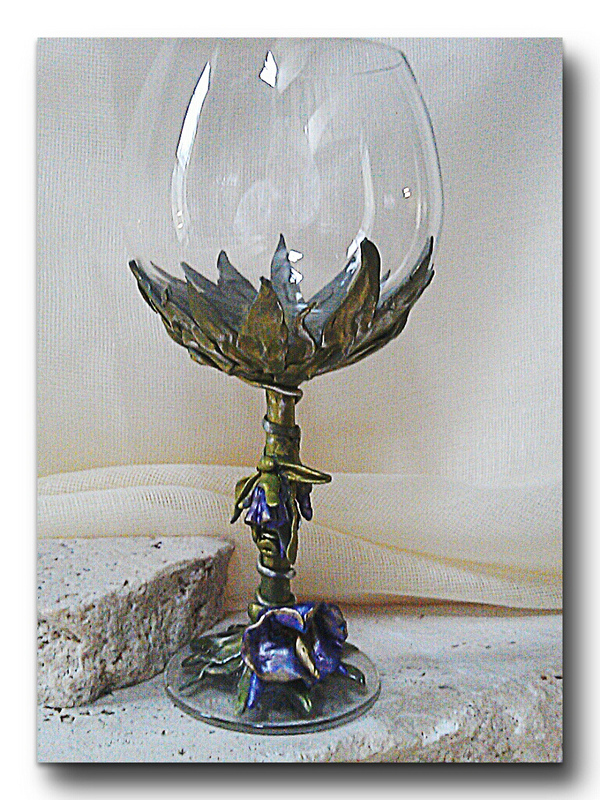
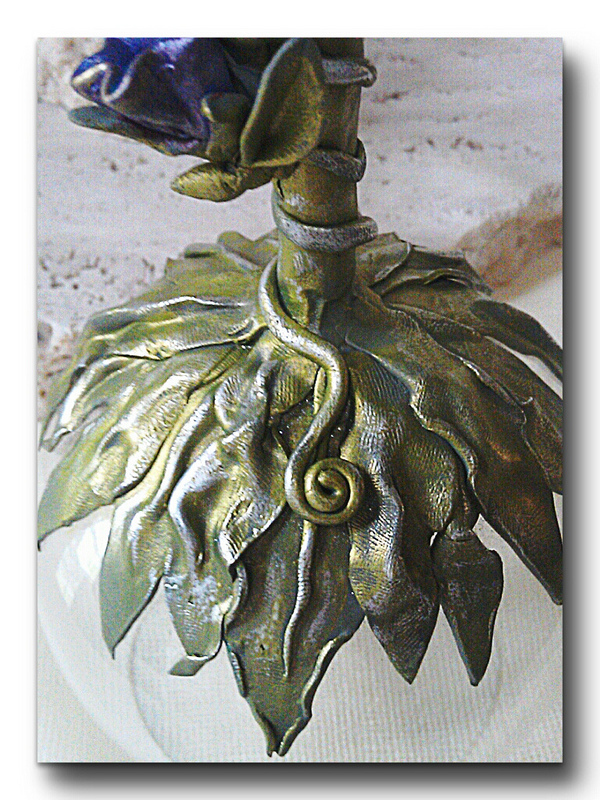
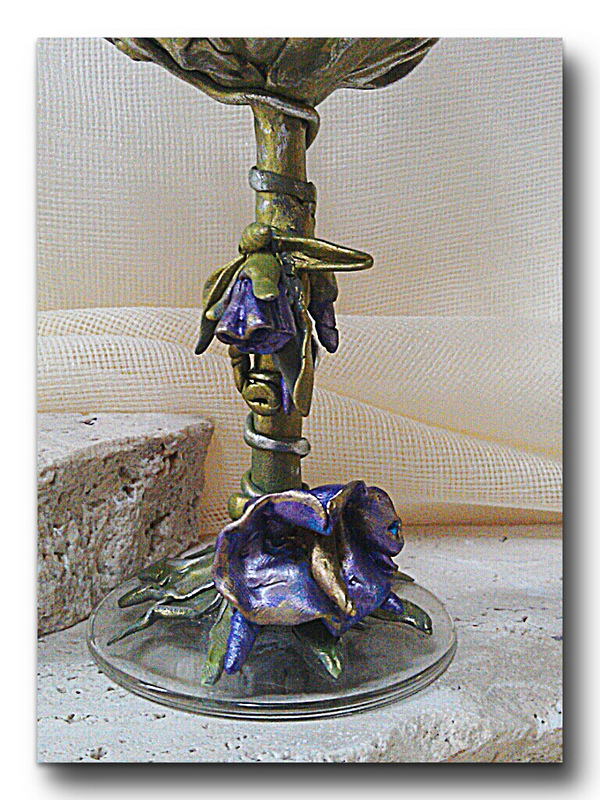
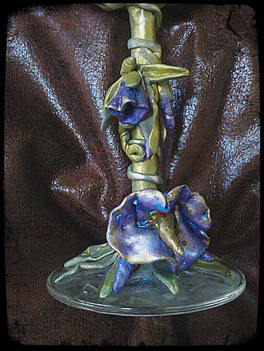
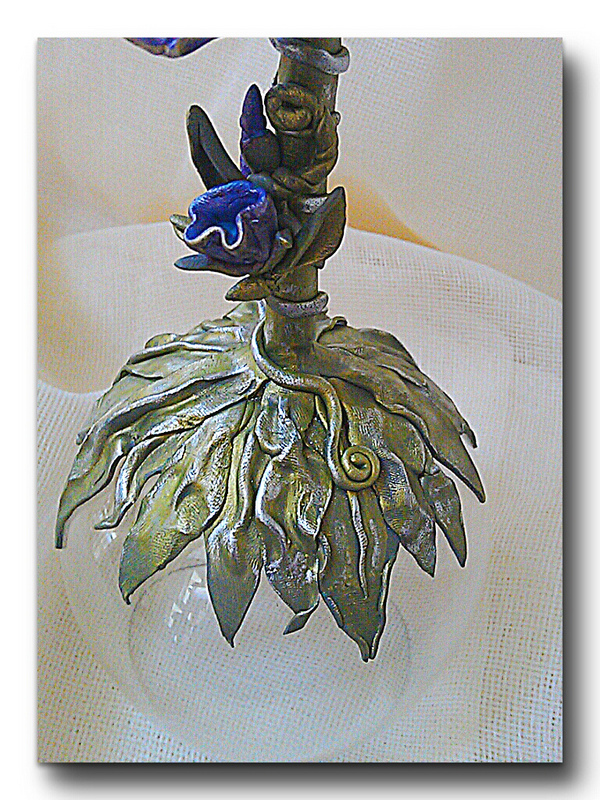
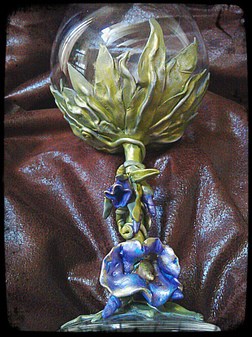
Anyone who knows me knows that I am easily distracted. That can be a good thing sometimes...this past week-end I had nothing to do. Everyone I knew was busy and I was totally on my own. Since it was the week-end I really didn't feel like working on the beads I had been doing all week, because even though it was fun it just seemed like work. Being temporarily stumped I decided to have a glass of wine and read a book. I never got around to the book, or the wine for that matter! When I went to the cabinet where I kept my glasses I saw some inexpensive glasses I had forgotten all about. Thinking this might be a fun project I set about decorating one of the larger goblets.
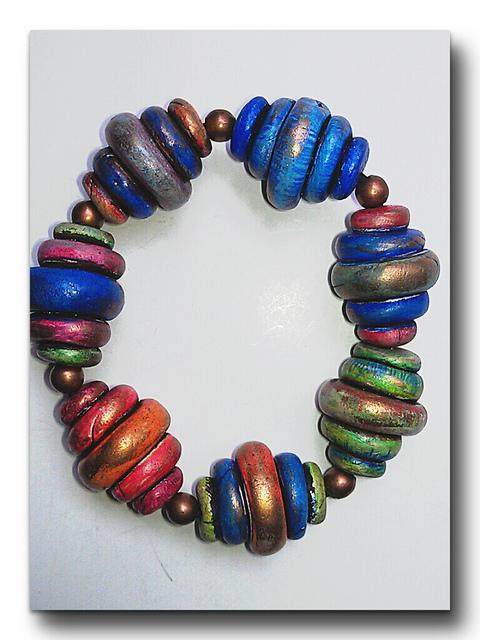
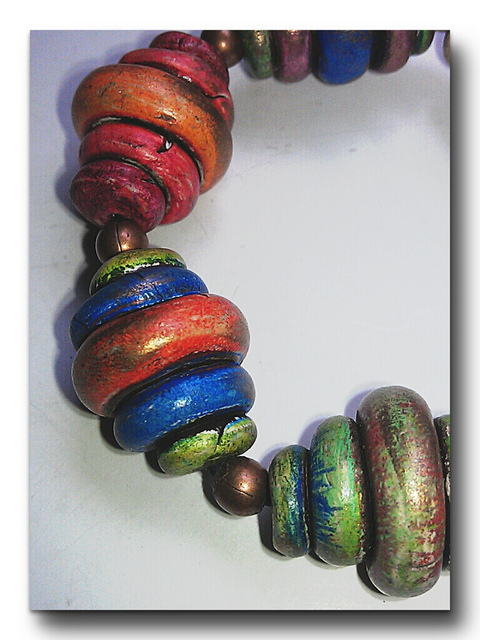
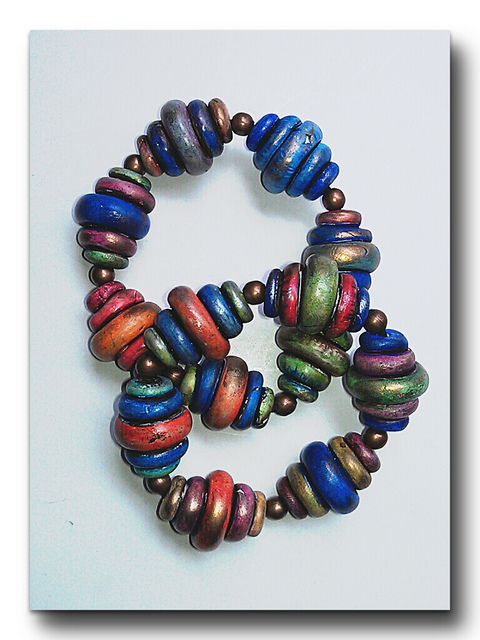
I can see lots of changes I might make but I also see things that I love about it; for a first attempt I am reasonably pleased with it. Since I hadn't blogged for a bit I took some pictures and here I am! This is mostly Premo with some Sculpey thrown in. I used scrap clay but added enough new to give it a base color. After curing I used alcohol inks (appropriate, no?) and then went over it with Inka Gold in green and purple. The finishing touches are Guilders Paste Silver. I also tried a couple different fabrics for the backgrounds, each gives a different feel to the piece, don't you think? I enjoyed this project so much that it just may become a part of the Out Of Time Designs regular inventory. Thanks for stopping by and looking! In my last post I highlighted beads I had been working on using plain, white polymer and Prismacolor pencils, my "pencil box beads". This time I have a simple, easy-peasy bracelet that were made from one shape of my pencil box beads. They are simple forms and simple colors but I punched it up a little with bronze guilders paste to go with the copper spacer beads. I usually pierce the beads before curing so that I have a small channel for my drill bit to follow if I need a larger diameter whole. All these beads (except one) were drilled the same size so I could get my 2mm buna cord through; one bead was drilled large enough so that I could tie an overhand knot, apply superglue and slide it inside the bead with the larger whole. The copper beads hide the larger hole and the glue assured it will stay together. My granddaughter says these beads remind her of an old wooden top; they do have that look of antiquity about them. I will be listing these on etsy in the next few days, look for them there!
Off on another tangent again! I started working on a new set of beads that are really fun to make. And of course as usual I ended up spending two whole days straight on them. No cleaning, cooking or laundry - I need a 'wife'! Thank goodness my son brought home some great food so I didn't starve. No chance of that anyway...
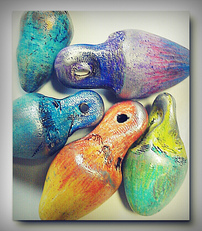
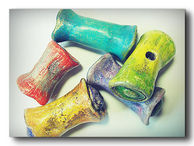
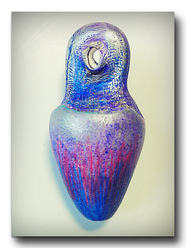
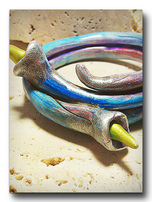
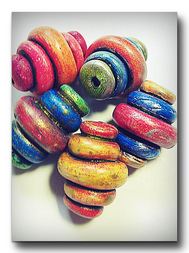
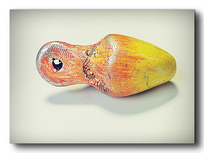
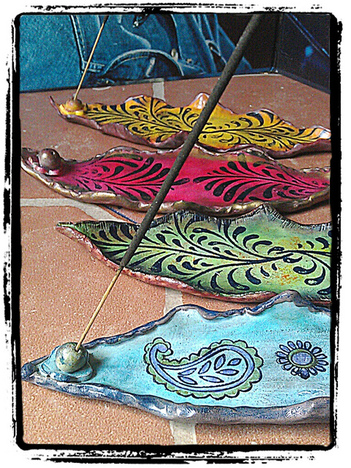
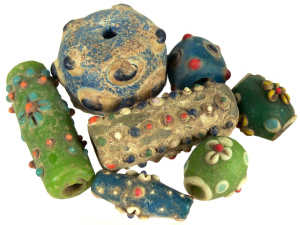
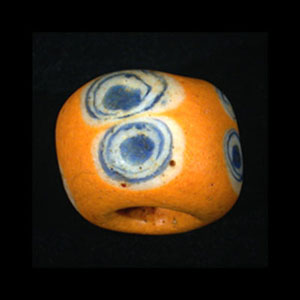
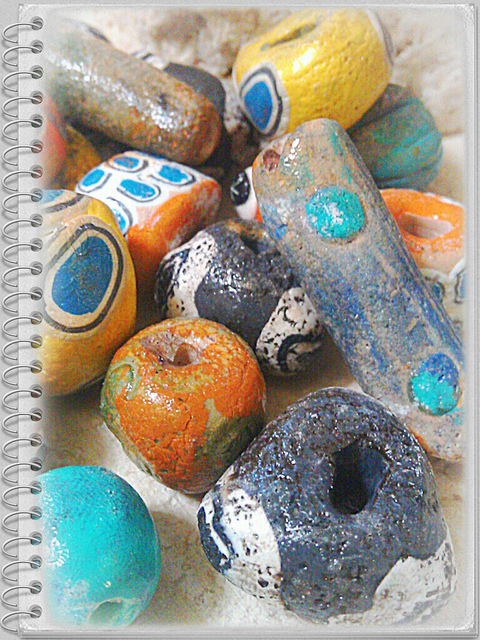
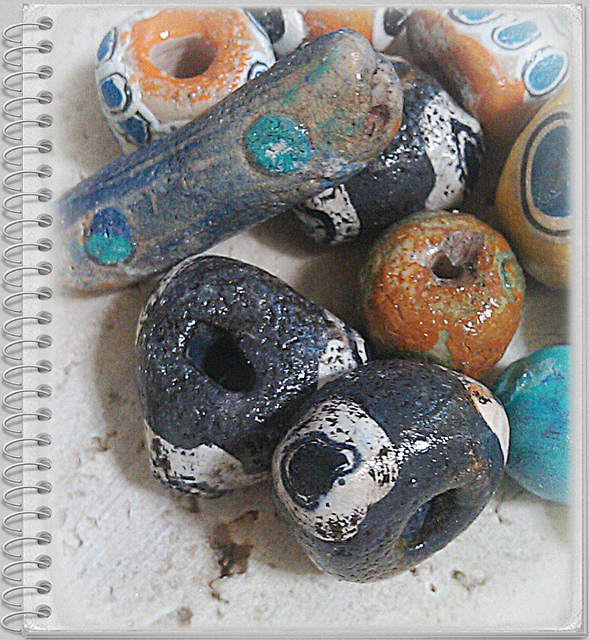
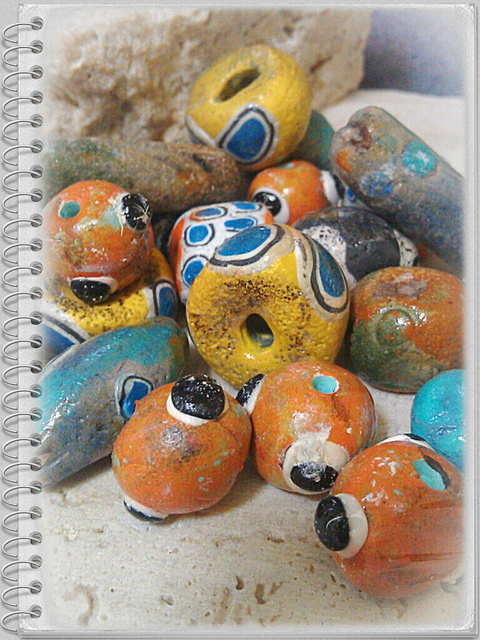
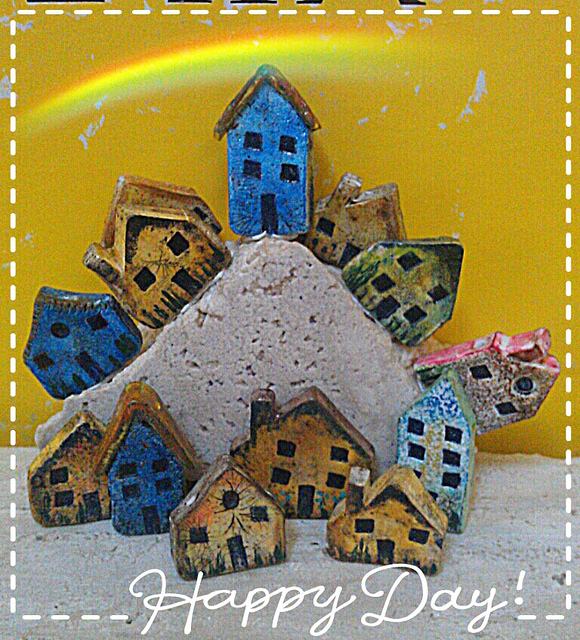
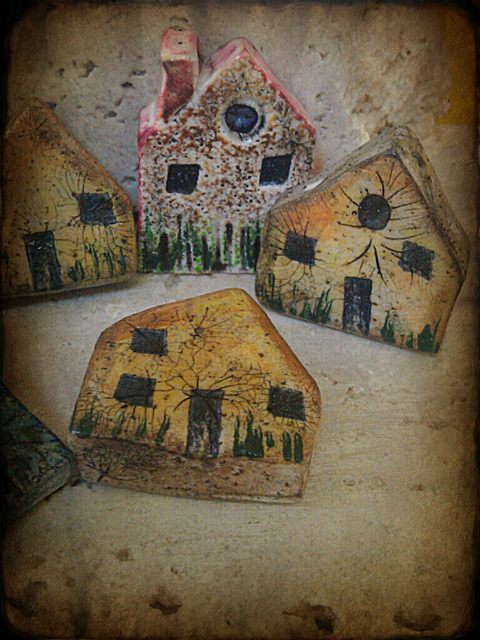
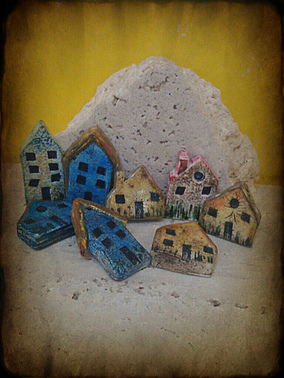
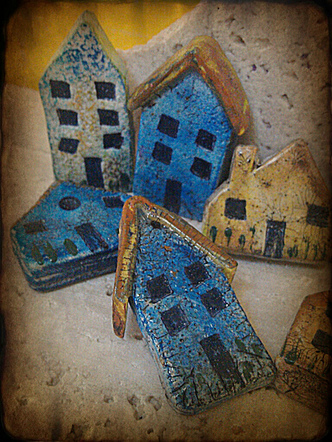
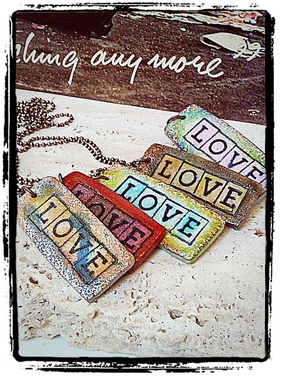
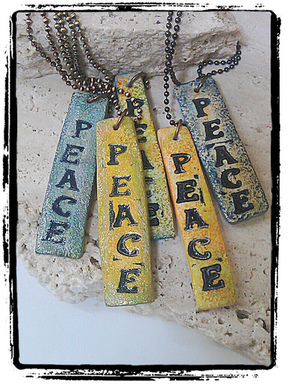
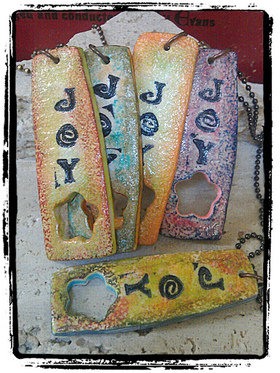
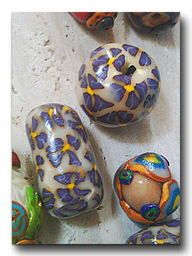
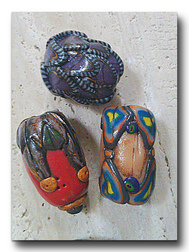
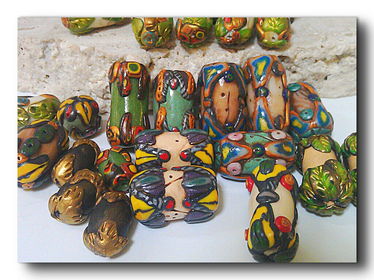
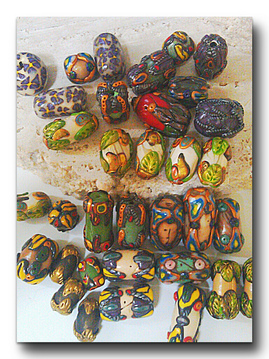
So I made all these cool beads and then tried to come up with a name for them. That is the hardest part (for me) naming and pricing. I had a hundred ideas and then decided to go simple. These beads (and one bracelet, so far) have been colored using pencils; plain old Prismacolor pencils out of a box. So here are my Pencil Box Beads! I love 'wonky' shapes and these certainly are, plus I have more in the oven that are even more organic. Along with the pencils, I used Inka Gold and Guilders Paste. Someone (not sure who) mentioned using mineral spirits; I tried but didn't like the results. Perhaps I was doing it wrong; I did order a blending pencil from Dick Blick's so that might give a different nuance to the the child-like quality of these beads. Thanks for stopping by, more to come! Even though creating jewelry is my favorite creative pursuit, there are times I like to branch out into other areas. My latest endeavor's are the holders that are used for stick incense. Funny how that used to be associated with stoners and hippie drug culture; now I buy mine at Kroger's when I pick up yogurt and string beans! They even sell the holders; although I found them very plain, so I decided to make my own following an Iris Mischly tutorial. She gave me the basics and I turned it into a hippie thing....I do that a lot. So after my son decided he wanted one (and I know my granddaughter will too) I thought I would put them on my etsy shop in case anyone else thought they were cool. The colors are bright but antique finished and sealed. I offer four (4) basic colors but the designs that I stamped on them will vary. Pictures below! "There's nothing you can do that can't be done..." ~ Beatles From the moment I was able to hold a book in my hands I have been fascinated with history, more specifically the history of how mankind had this deep need to create beauty and adornment for themselves and their community. As bead makers and jewelry artists we are always thinking "what if..." and trying to create something no one has attempted before. We feel like we are pushing the envelope with each new trend. The trend that is my personal favorite though is the faux look. There are several excellent tutorials to achieve the faux look. If you are interested a good place to start is the free tutorials on Youtube and progress to places like etsy for more in depth ones. Recently I have been making beads with a faux ceramic appearance and have some of my results for sale on etsy. I also have been playing around with faux faience and what I am (tongue in cheek) calling "Fauxnician". Phoenician beads are clay or glass and have a very distinctive look to them. For this look I simply googled pictures and then set about making them as close as possible. Of course to get that old look you need to distress them quite a bit; staining with acrylic paint gives them that "buried in the ground" look. Surprisingly many of the really old beads are still vibrant in color so I made several of mine bright, and several with a more rough finish. I am sure the trained eye will have no trouble telling the real from the fakes here; what about you, which do you think are real and which are my "Fauxnicians"?The original beads have a child-like quality about them, due to the bright colors and simple designs, and that's what I attempted to duplicate in my beads. Now off to research finished jewelry using these beads. Probably a simple stringing would show them off to the best advantage. So while the original beads may strain your budget, I can enjoy these fakes as a colorful substitute. And who knows? Maybe someday, some one will find these stashed away and "rediscover" them all over again. Here are my latest projects from Iris Mischly's latest tutorial...House Beads and House Pendants. This is an easy to follow, fun to make tute that really got me going. They are Iris's instructions but my "take" on her theme. I always like my things a bit "funkier" and so they are!They will soon be make into necklaces and bracelets to go onto my etsy site. Thanks for looking!If you can remember the Summer Of Love you are most likely getting Medicare benefits. That year, 1967, was the beginning of the end for hippies, free love and psychedelia. Sure it limped along for a few years after that but it was not as fresh and bright, it seemed tarnished somehow. Kids wanted something different and the punk movement was lurking in the wings. But at that magical time there was such a flourishing of new ideas and art, clothing was a wild departure from the Mad Men era of the 50's, making our parents think we had gone totally mad ourselves. I remember my mom meeting me in town (stogy Cincinnati-we're always 10yrs behind) after an extended stay in Chicago. She was so horrified at my outfit that she barely slowed the car down to pick me up. I simply looked different , and back then that was enough for censure.
|
Archives
March 2019
|
 RSS Feed
