...that it is now Day 8 of the TAD. Someday when I wake up I am going to find that I am really this super-organized person who was just having a bad dream for 66 years! But until then I still try to organize once in awhile but that only seems to leave room for more things to appear overnight! So for todays challenge item I am using two things I apparently made and forgot about, plus I needed to make one small additional thing to complete it.
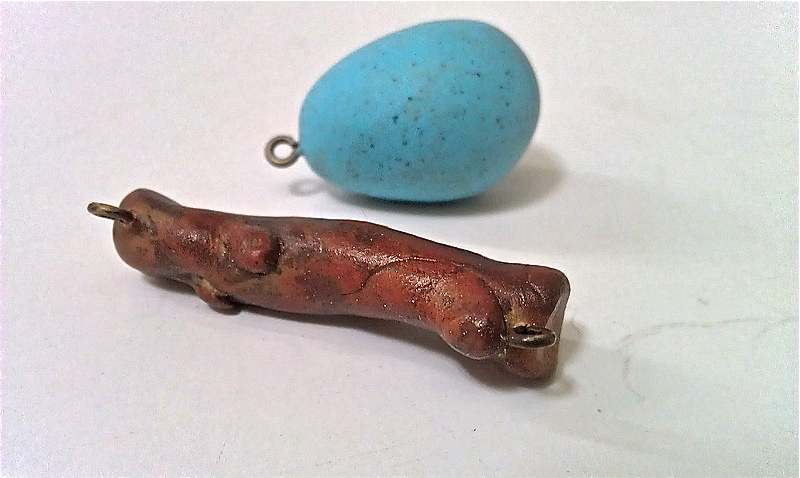
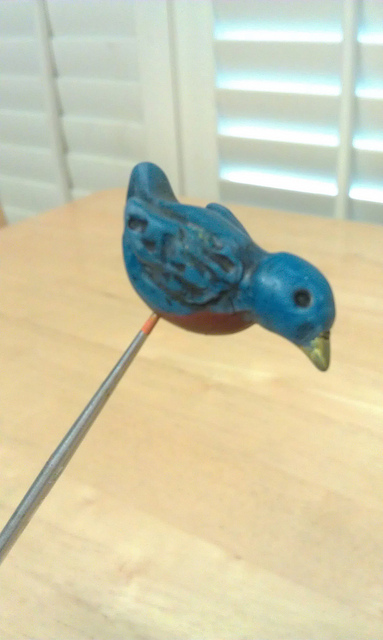
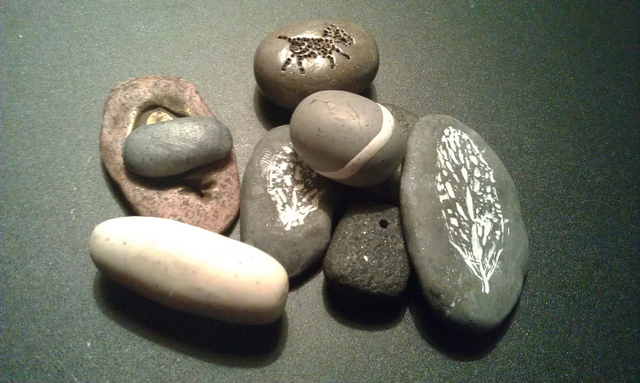
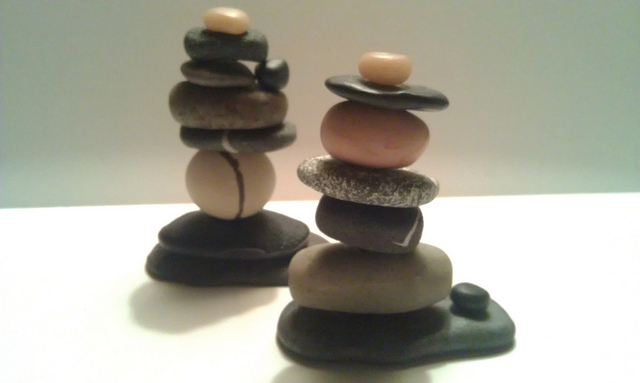
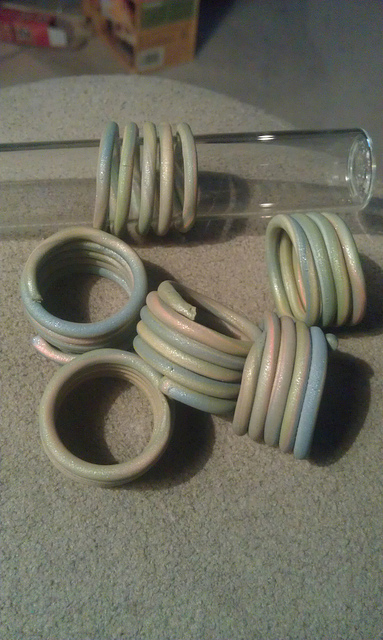
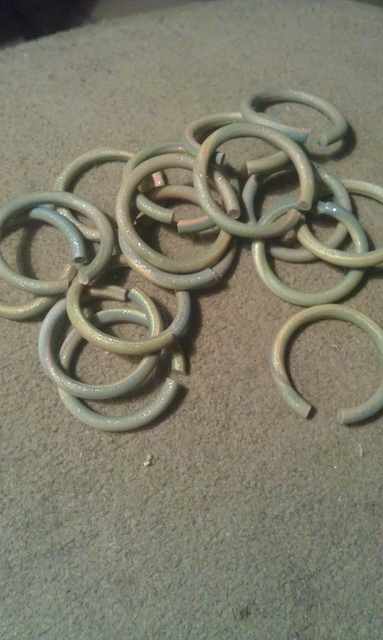
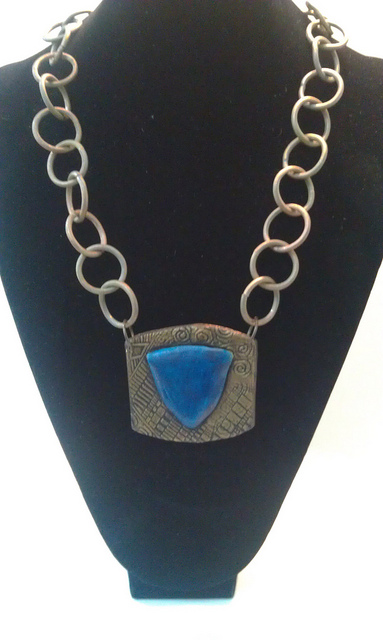
At two completely different times I was fooling around and made the twig when I was making magic wands and this was a small test. Then another time I was trying for a particular shade of blue and this was left over clay so I made this egg shape. While searching for something else it occurred to me that with a small addition I would have a complete project. So I made the tiny robin in the second picture. In order for it to securely stay on the branch I had to do more than glue it, so I drilled a hole in the branch and the poor birdies butt! Then I superglued it to stay. The addition of a chain and my TAD was done pretty quickly today!
At two completely different times I was fooling around and made the twig when I was making magic wands and this was a small test. Then another time I was trying for a particular shade of blue and this was left over clay so I made this egg shape. While searching for something else it occurred to me that with a small addition I would have a complete project. So I made the tiny robin in the second picture. In order for it to securely stay on the branch I had to do more than glue it, so I drilled a hole in the branch and the poor birdies butt! Then I superglued it to stay. The addition of a chain and my TAD was done pretty quickly today!


 RSS Feed
